Welcome to my own little spot of blog space. Thank you for stopping by. I hope you will check back often to see what kind of craftiness I have going on in the world of scrapbooking, card making and general crafting.
Showing posts with label George and Basic Shapes. Show all posts

Wednesday, May 9, 2012

Mother's Day Gift Inspiration

This week at Cooking with Cricut, the Design Team wanted to give you some Mother's Day Gift Inspiration.

My mom often takes treats to work to celebrate a birthday or as part of a potluck or sometimes "just because".  She is as sweet as some of her treats and she always puts thought and love into whatever she makes.  Now she can take her treats into the office in style AND as an added bonus easily identify which containers belong to her! 

Secret confession......I thought of making one that said "DO NOT TOUCH" or "NOT YOURS" <insert EVIL grin and menacing laugh here> for those times that the treats have to go into the unguarded refrigerator. 

 This is a sectioned "chip & dip" container from Wal*Mart. 
A tub of dip (ranch, french onion, cream cheese whips, caramel, etc.)
fits perfectly in the center.


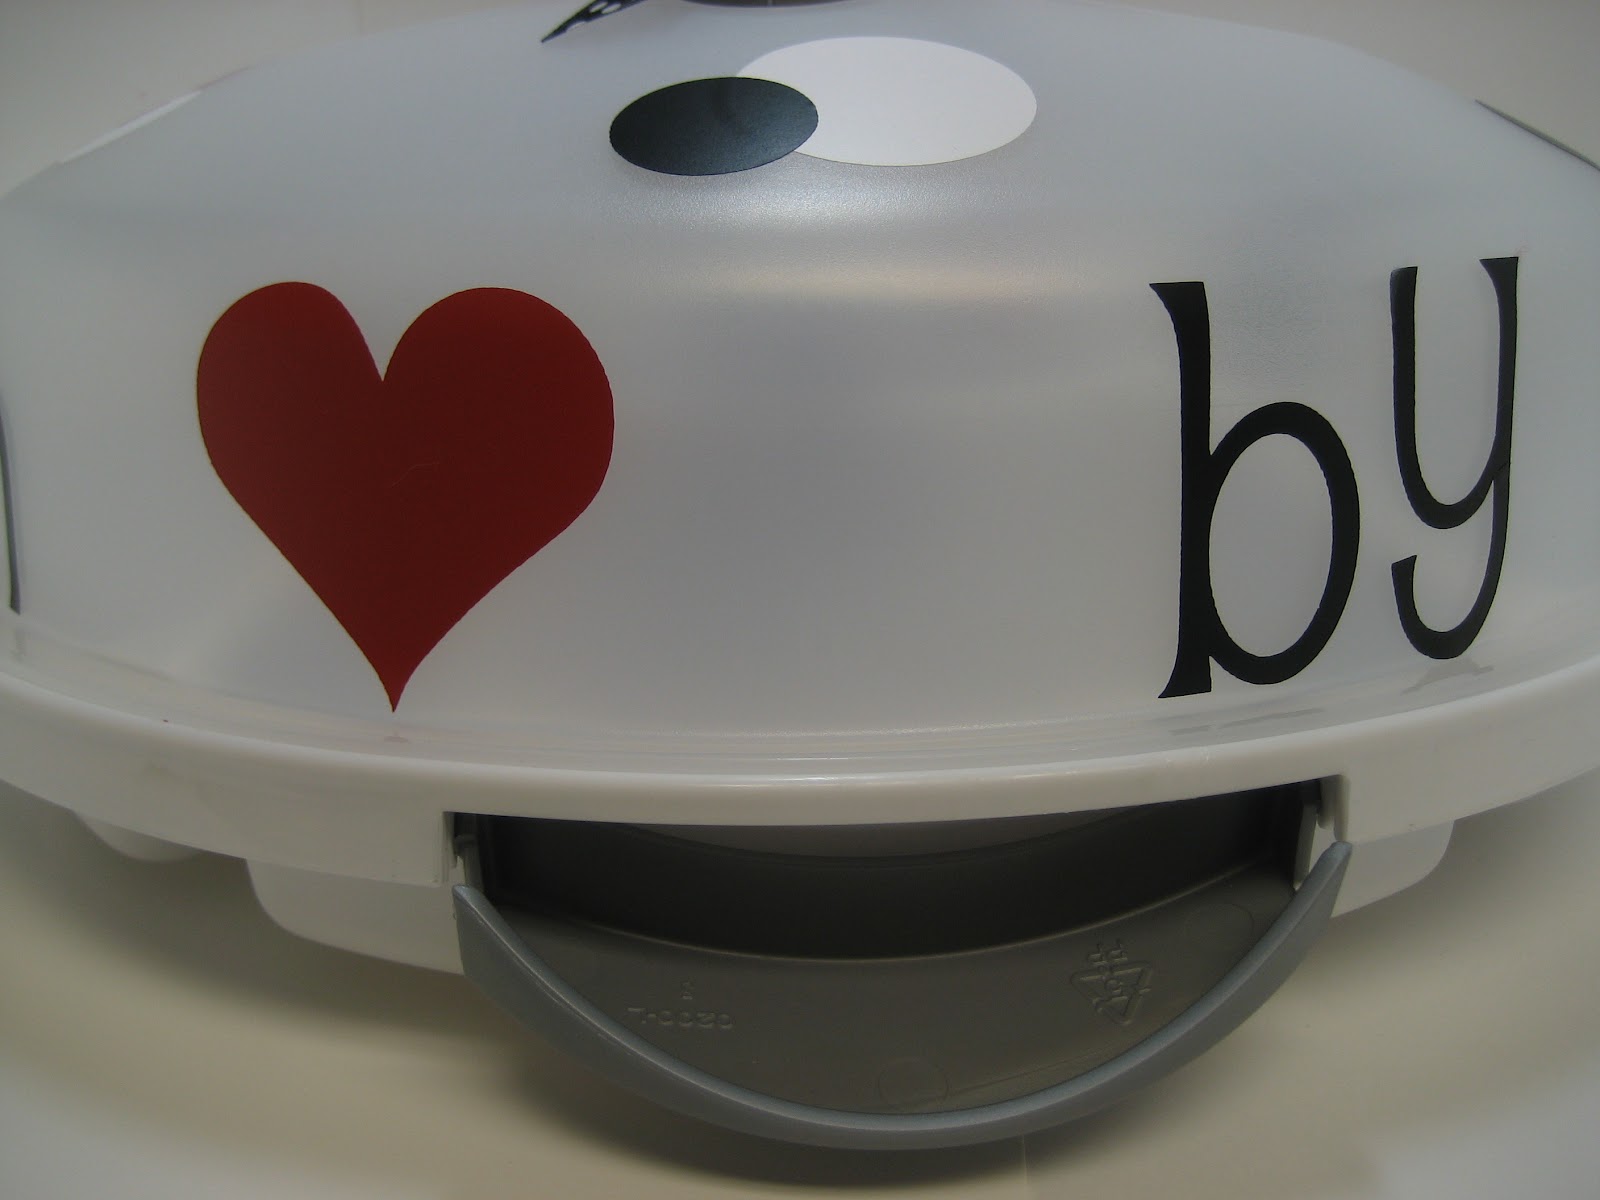


This is an "Ultimate 3 in 1" Cake Caddy from Hobby Lobby.
Purchased using a 40% coupon!  I *heart* coupons!!


A gift wouldn't be complete without a matching card.
Previously posted for NSD, but just in case you missed it. 


Cricut Cartridge - Alphalicious, George and Basic Shapes
Vinyl - Red, White, Black (Hobby Lobby, Michaels, JoAnn's)
Transfer tape (JoAnn's)
Embossing Plate - Sizzix Bubbles (used with the Cuttlebug)
Carstock - Recollections (Michaels)
Ribbons - Various Bazzill Basics (Archiver's)
Adhesive - Glue dots and ATG
Chips 'n Dip Carrier (Wal*Mart)
Ultimate 3 in 1 Cake Caddy (Hobby Lobby)


Be sure to check out the fabulous CWC Design Team's Mother's Day Gift 
Inspiration blogs and link up your creation for the challenge at CWC.  
I'd love to see what you create!

Thanks for stopping by.

Tuesday, March 6, 2012

Some exciting news!

Some exciting news!  

I am so excited to announce that I am a new member of the  Cooking With Cricut Design Team!  I am honored to join these lovely creative ladies!

Our first project was to help celebrate Dr. Seuss' birthday......Happy Birthday, Dr. Seuss!  Read Across America:  Share a project featuring your favorite Dr. Seuss book or a project that encourages reading.  

As soon as I read the challenge, I knew exactly what picture I wanted to use.  I absolutely LOVE this picture of my god-son "reading" to my son.  The picture was taken in 1997.

The stars were cut at various sizes using George & Basic Shapes.
Thing 1 and Thing 2 are digital files from Paper Crafting World.


 The journaling is hidden behind the photo.

The stars were cut out using George & Basic Shapes,
embossed with various Cuttlebug folders and embellished 
a little with Stickles.  Foam tape was used to add dimension
to a few of the stars.

 A close up of Trevor showing Daulton 
the pictures as he is "reading" it to him.

 Please be sure to check out the Cooking with Cricut site as well as all of 
the other creative design team members.  I'm sure you will be inspired.


Join in on the fun and link up your favorite Dr. Seuss inspired or reading themed project.  You could be CWC's next Top Chef!  Check out Cooking with Cricut for the guidelines and link location.


Thanks for stopping by and until next time....Hattie


Tuesday, September 27, 2011

I wanted to share another name book with you.  This Spiderman inspired name book was fun to make. Although it was a little challenging to add the little boy's favorite color, GREEN.  


 Cartridges: George and Basic Shapes
Mickey Font (I LOVE this chunky, slanted font!)

The letter "J" was outlined using Crystal Stickles. Crystal is one of
my most used colors.
The metal tags on the side are re-purposed key tags from the 
office supply store.   The color matched perfectly. 

 To add dimension to the square journaling block (or picture mat)
it was raised using pop-dots.  The letter "O" was outlined using Yellow Stickles.

 The red frame was created by using the Spots and Dots 
Cuttlebug embossing folder. The letter "H" was outlined using 
 Green Stickles.

 I don't mind working with these spiders! 
The letter "N" was outlined using Xmas Red Stickles.

Have an amazing Spider*riffic Day!


Thanks for stopping by.....

Thursday, September 15, 2011

Personalized Name Baby Book -

There is nothing sweeter than a baby's smile and laughter!  

To celebrate Zephyr's birth, I created a name book for his grandmother using my Cricut and Design Studio. Have I mentioned how much I love my Cricut?!?!?  I love making these books as gifts.   I can guarantee this is one-of-a-kind!! 

Zephyr's Full Book


Eucalyptus Stickles was used to accent the patterned paper. 
The embossed "Baby" was cut from a Hallmark Card.


 Crystal Stickles was used to accent the letter E.


 The "P" was embossed using the Cuttlebug Swiss Dots embossing folder 
and Crystal Stickles were used to accent the dots.


 The duck was created using the New Arrival cartridge 
and accented with Yellow and Orange Peel Stickles.


  The "H" and frame were accented with Turquoise Stickles.


 Paw and his two boys!


The "Y" was embossed using the Cuttlebug Traffic Jam embossing folder 
and Crystal Stickles were used to accent the outline.  
The giraffe is SEI Sparklers.


The journal tag is from the Making Memories Animal Crackers spiral journaling book.


The "R" was embossed using the Cuttlebug Swiss Dots embossing folder 
and Eucalyptus Stickles were used to accent the dots and frames.  
The rocking horse ribbon is from Michael's.


  The stick pin is SEI.  


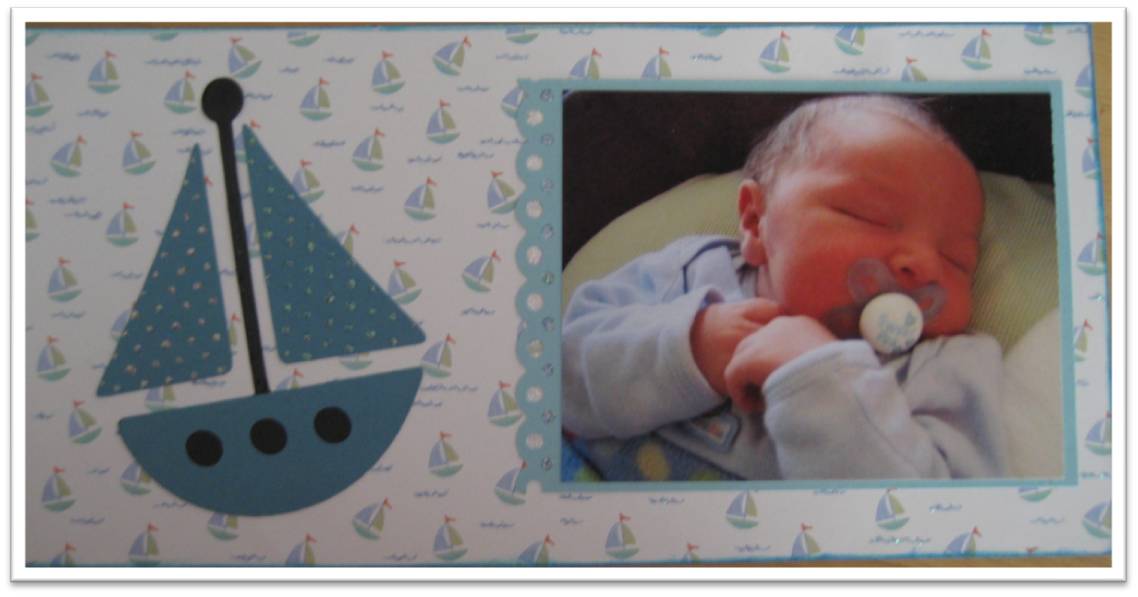
  The boat was created using the New Arrival cartridge, embossed with the Cuttlebug Swiss Dots embossing folder and accented with Crystal Stickles.
 The waves were also accented with Waterfall Stickles.
The photo mat was created by the Martha Stewart Edger - Scallop Dot. 


All about the little details. These are the charms that hang from the book rings. Pastel color eyelets were also used to reinforce the holes for the book rings. 

Name books are a labor of love, but well worth it!  

Thanks for stopping by! 

Sunday, July 10, 2011

Personalize w/ Cricut!

With a name as unique as mine, I have always known that if I received a gift with my name on it the gift giver had to 1.) make it by hand or 2.) have it made for me.  I have always felt special when receiving something with my name on it! 

I personalized this scrapbook organizer using my Cricut and vinyl.....now it's easy to put kits in it and quickly grab it on my way to crop with friends.  (BTW - speaking of cropping with friends - we will be at Archiver's on July 30th.)


Being able to personalize items is one reason I LOVE my Cricut! Cartridges used: Alphalicious and George and Basic Shapes. Scrapbook organizer/tote purchased at Michael's.